Create a Content Stream from Scratch
Print
Created by: Julie Le
Modified on: Mon, 8 Aug, 2022 at 10:21 AM
Creating a content stream from scratch will guarantee that it will be wholly unique. You’ll be able to build a stream from the ground up, that's hand-tailored to meet your needs. If you’ve never done it before, creating a content stream from scratch can be tricky. In this guide, you will walk through every step in the stream-building process. Let’s get started!
First and foremost, you need to log into EOwn and go to the dashboard.
Step 1. Click on Create Content Streams and choose Start From Scratch.

Step 2. Start on with the Stream Metadata. In this step, you should add your stream’s name,
content stream tags, header, and footer.


To add a stream name, click on the Edit icon at the top. Keep in mind that this name will not be visible to your audience, but it’s mainly to help you organize and keep track of your content streams in your account.
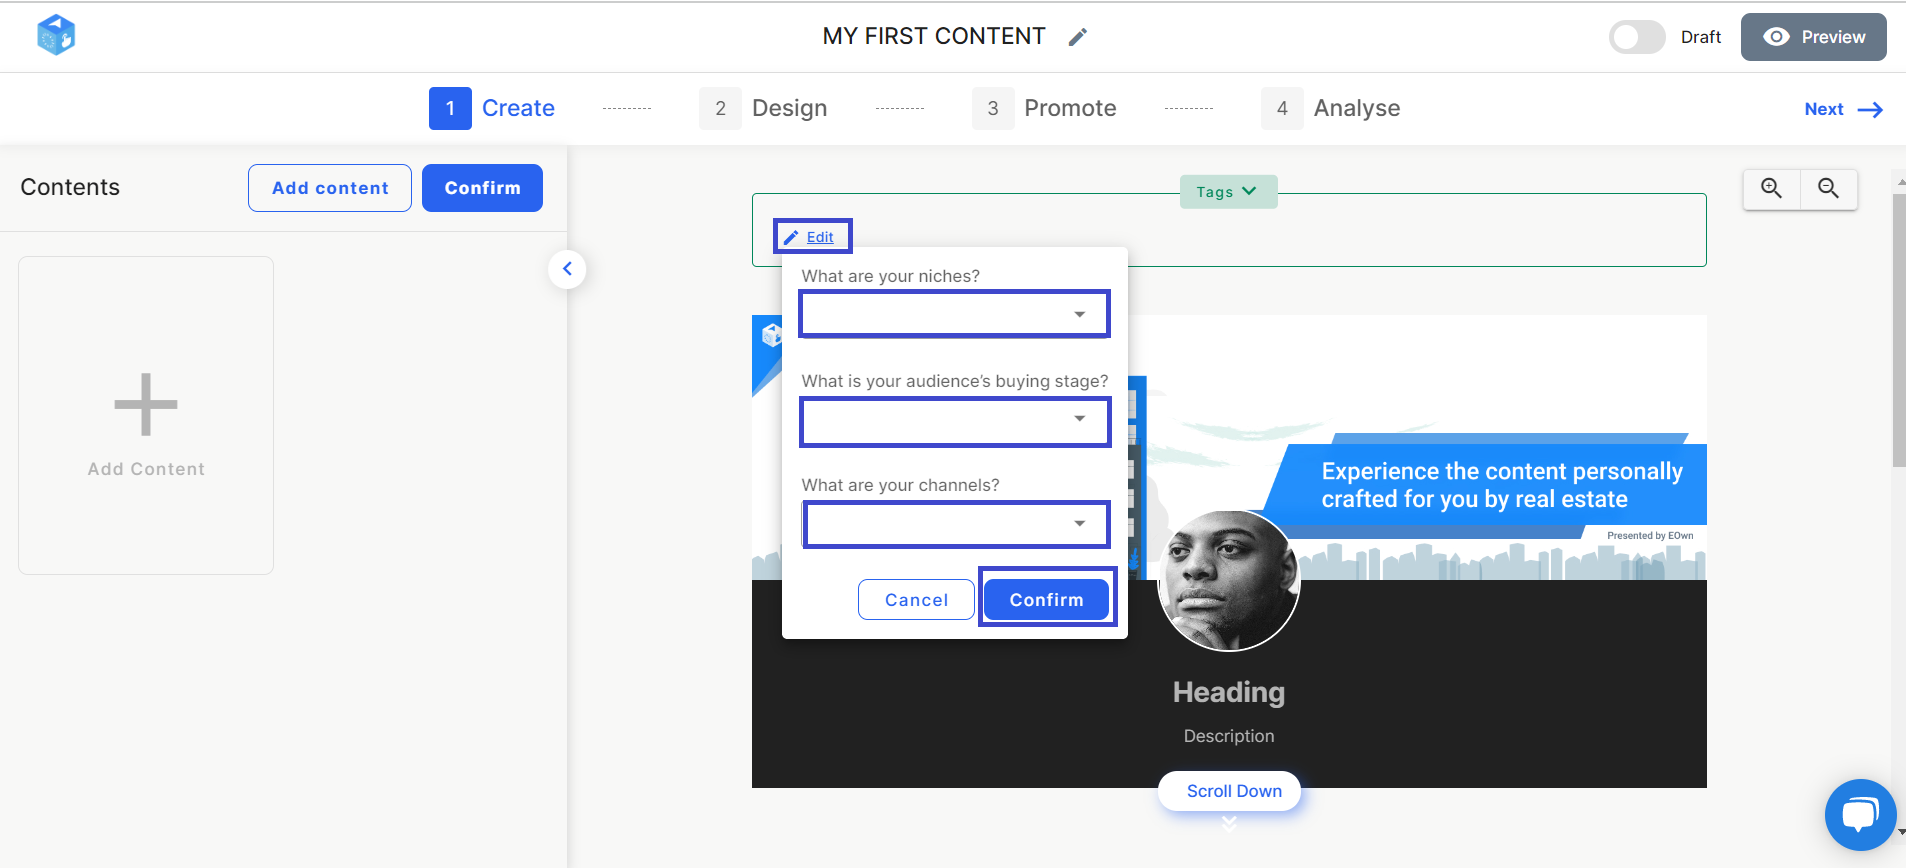
Move to the next part where you’ll need to tag your content stream. If you are using a stream template, the tags will be automatically assigned. Now that you’re creating from scratch, you need to manually add the tags. For more tips on how to tag your content stream effectively, read the guide here
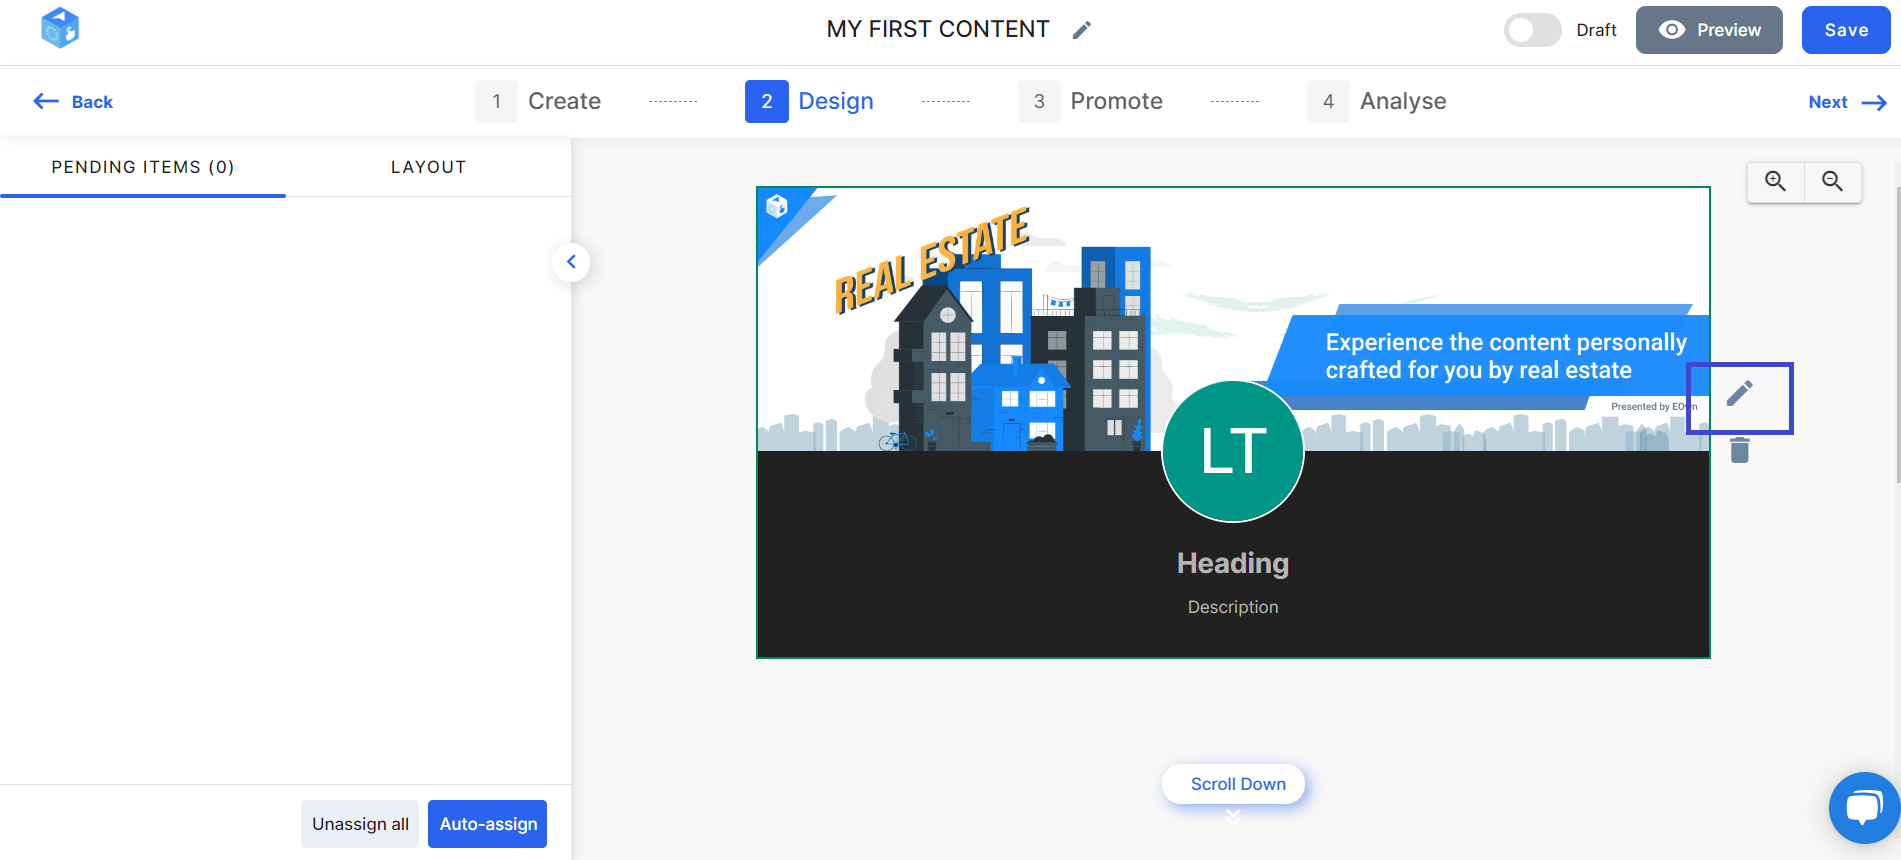
To edit the Header, click the Edit button. There will appear a popup where you can enter your avatar, cover image, stream title, and description. Make sure your header looks professional and straightforward as it is the first impression when your visitors view your streams!
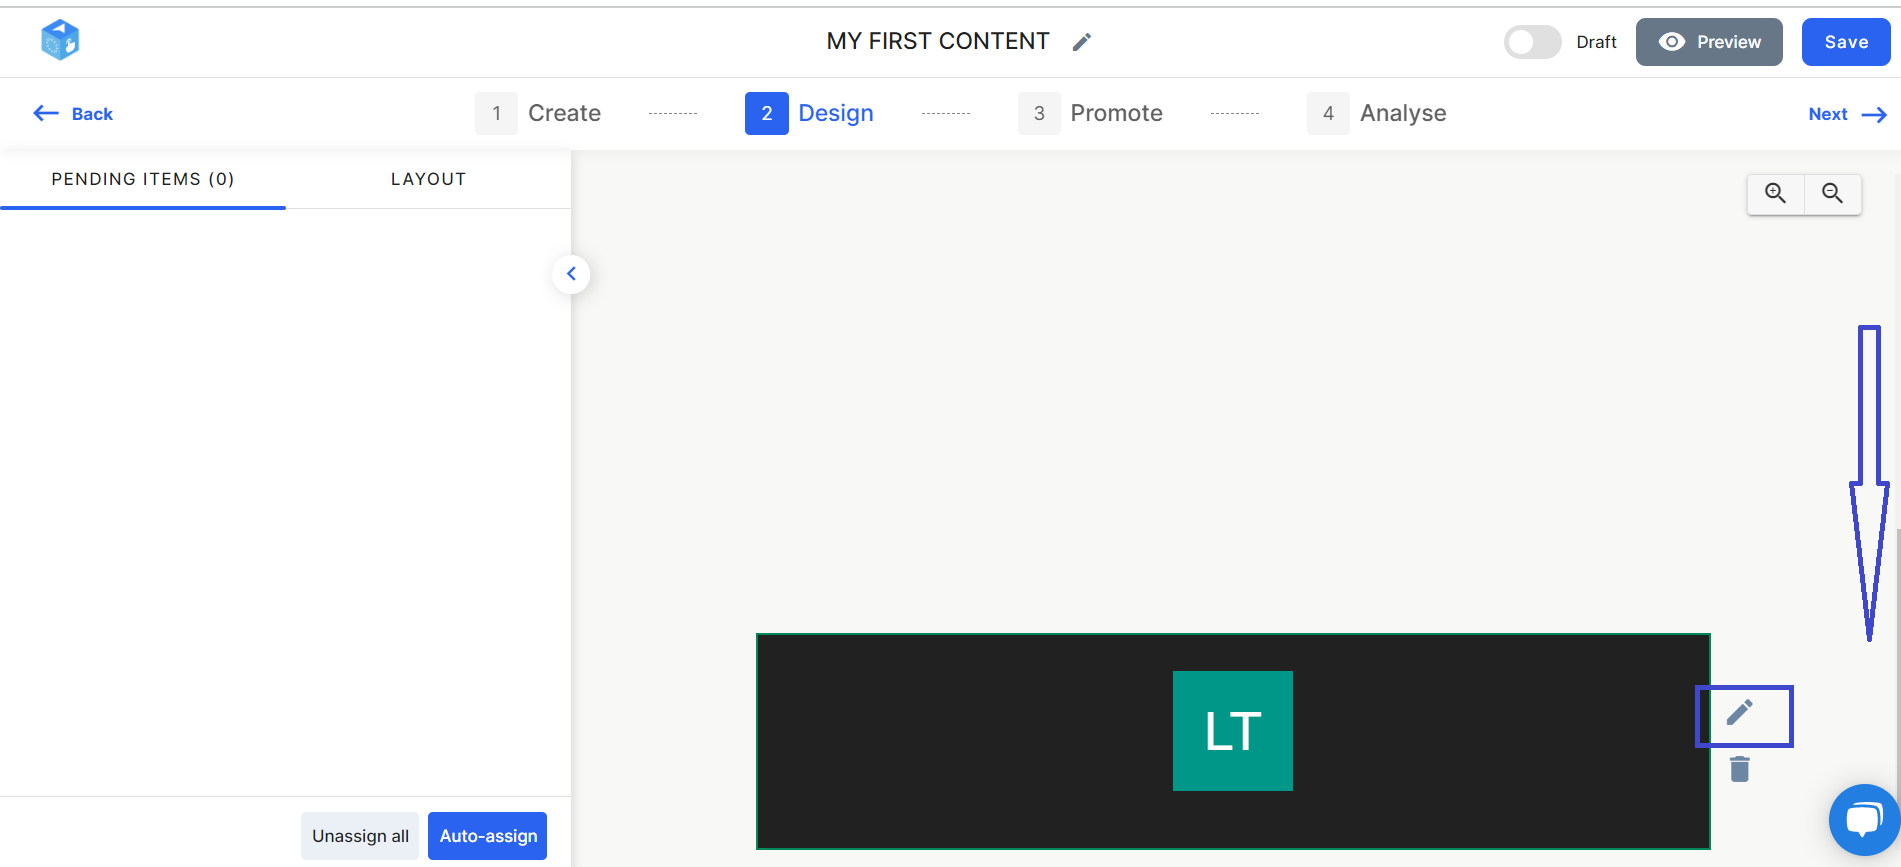
To edit the Footer, scroll down to the bottom of your stream and find the Edit button. On the popup, fill in your contact information, including your logo, slogan, social media links, address, email, and phone number. This would be useful when your visitors want to reach out to you.
Step 3. Once you’re done editing the Metadata, it’s time to let your creativity flow by adding content items. To recap, there are 4 types of content in the streams, including Article, Form, Graphic, and Listing. For more tips, read our guides at:
When you add new content, it will be auto-assigned into a default row layout, but you can change the layout at any time in the next step!
Step 4: When you’ve finished adding content to your stream, click Confirm and move to the next step: Let’s customize your stream!
Typically, a content stream comes with a default stream layout, but you have multiple options to customize the layout design to your liking. Read our guide here at Customize the Layout design
Step 5. Voila, you’re almost there. The final step is to Publish and Promote your stream.
Make sure to preview your content stream before going any further by using the Preview button on the bottom right corner. It's one of our favorite features!

Step 6. When everything is done, click Promote on the top navigation flow and show the world you’ve created an amazing content stream ?
Make sure you switch status from Draft to Publish to make your content stream accessible to the public audience. If your content stream is in the Draft status, it means only visitors who signed into EOwn can view the link.
To promote your stream, use the link and promotional content for the corresponding channel.
If you create a content stream from templates, it should come with featured promotional content that best fits the content stream. However, you can choose other promotional content templates by expanding the tab List of Templates on the right side.
Step 7. You’re almost there. Now let’s send the content stream to your audience on the selected channels. Note that since the content stream is a link, you can edit it any time after sending it without changing the link.
Let’s sum it up!
To create a new content stream from scratch, click Create Content Streams > Create From Scratch and start creating!
More to learn:
Customize a template to your brand
Created stream with a Template
Julie is the author of this solution article.
Did you find it helpful?
Yes
No
Send feedback Sorry we couldn't be helpful. Help us improve this article with your feedback.

